

Replacing Porsche Cayenne 957TT Crank Position Sensor
Recently the family hauler (2008 Porsche Cayenne Turbo), started doing some strange things - (Long crank time, random stalling, going into limp mode), it finally threw a check engine light and the code was for the crank position sensor. After doing some reading online for other models (955TT, 957S) and getting some conflicting information on how best to approach the repair, I decided to just dive in and document the process.
***Disclaimer: This post is intended for entertainment purposes only, we will not be held accountable for any potential damage you cause to your vehicle for emulating what you see and read in the article below.
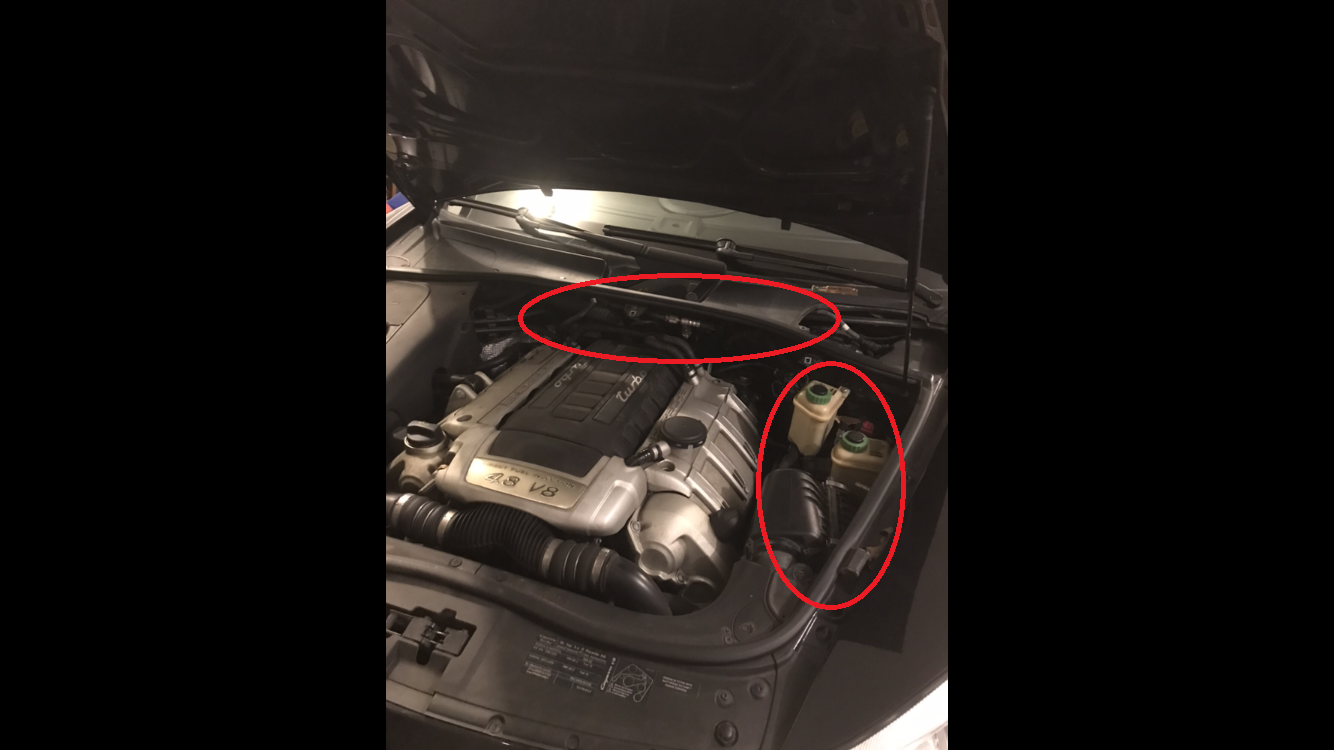
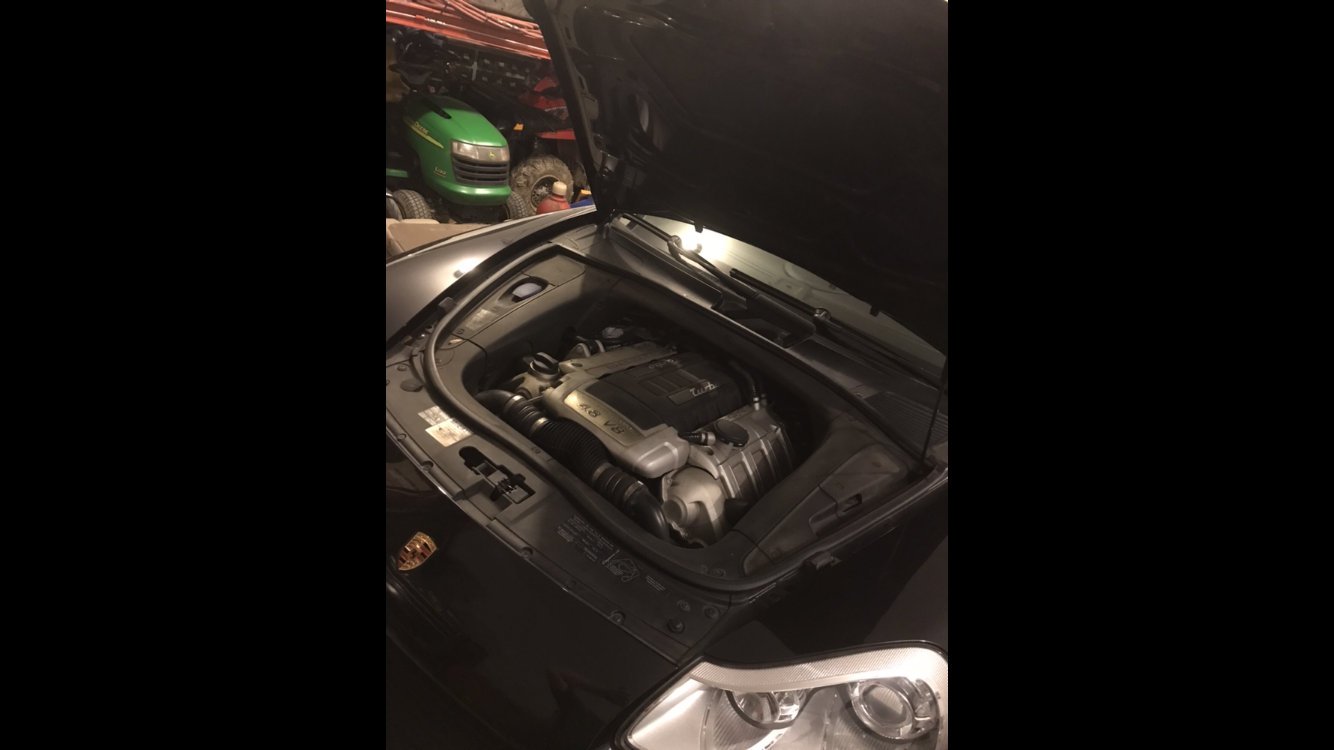
Step 1: Remove the engine cover from the driver side and the bridge engine cover at the top of the engine bay.
Step 2: Locate the crank position sensor connector. It sits deep down behind the cylinder head.
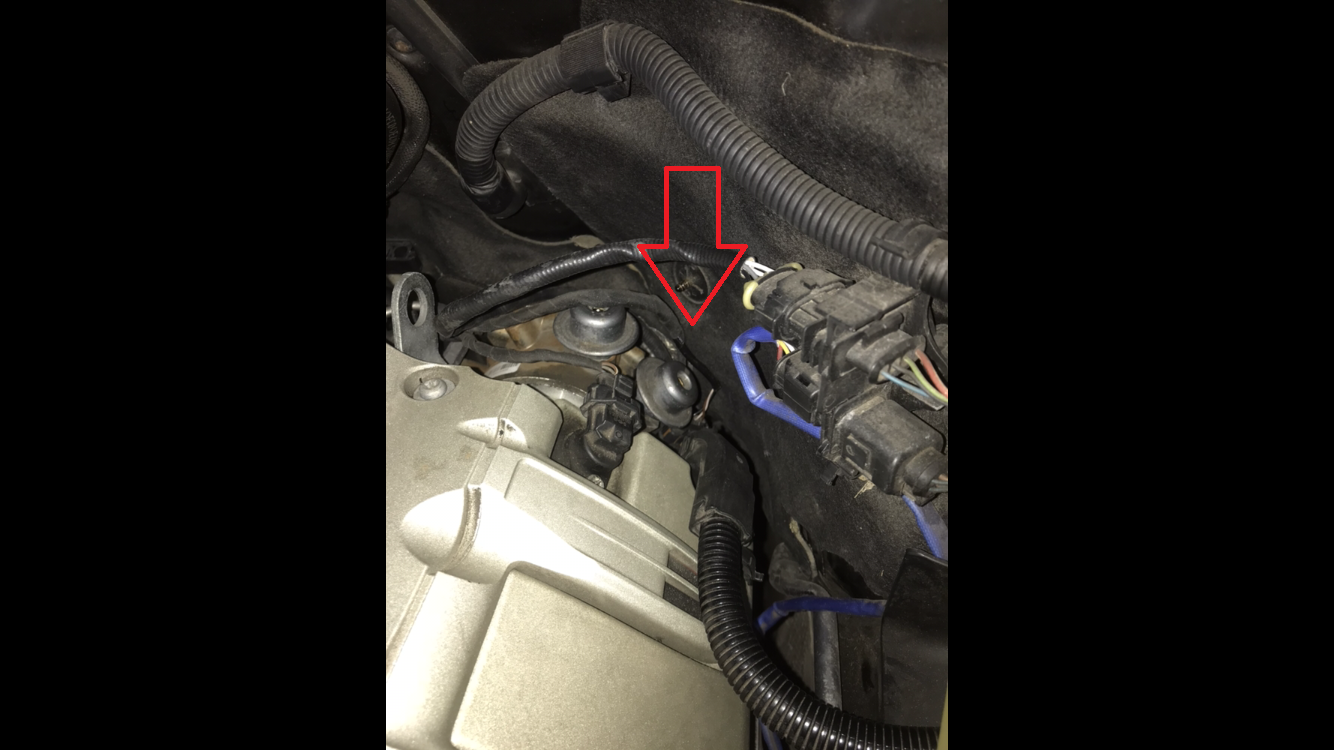
Step 3: Use an 8MM socket to remove the 1 bolt holding the wiring harness to the valve cover, this will allow you some extra room.
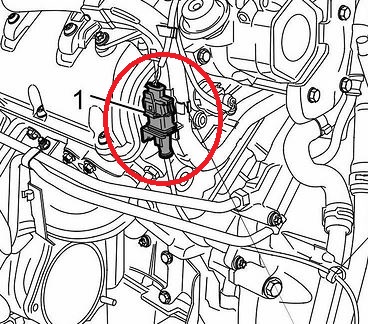
Step 4: Use a large flat head screw driver to separate the connected plugs from the plastic retaining clip on the back engine. BE CAREFUL NOT TO DAMAGE THE WIRING HARNESS. (This illustration is looking from the back of the engine. You are not separating the plugs from each other, you are just removing them from a plastic clip holding them in place.
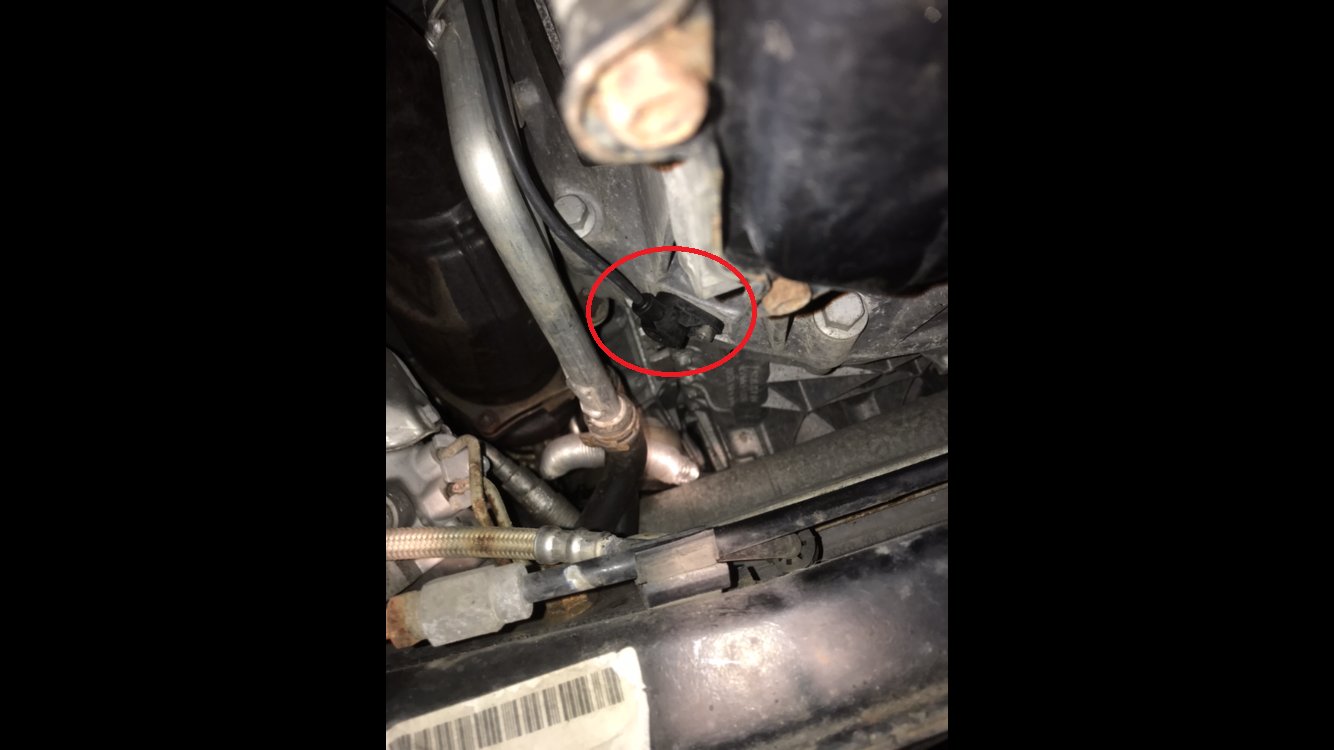
Step 5: Jack up the car from the front driver side, use jack stands and slide on under. Look at the transmission bell housing for the crank position sensor. There will be a 5MM hex bolt holding it in place that you will need to remove. While you are down here, pull the wire out of the 2 retaining clips. The lowest clip is a simple pressure clip, the next one up is a plastic clip release.
Step 6: Go back up to the engine bay. With the sensor removed from the transmission and the 3 clips (1 upper, 2 lower) released, you should be able to pull the sensor wire up to a place in the engine bay where you can easily unclip the old crank sensor, and clip in the new one.
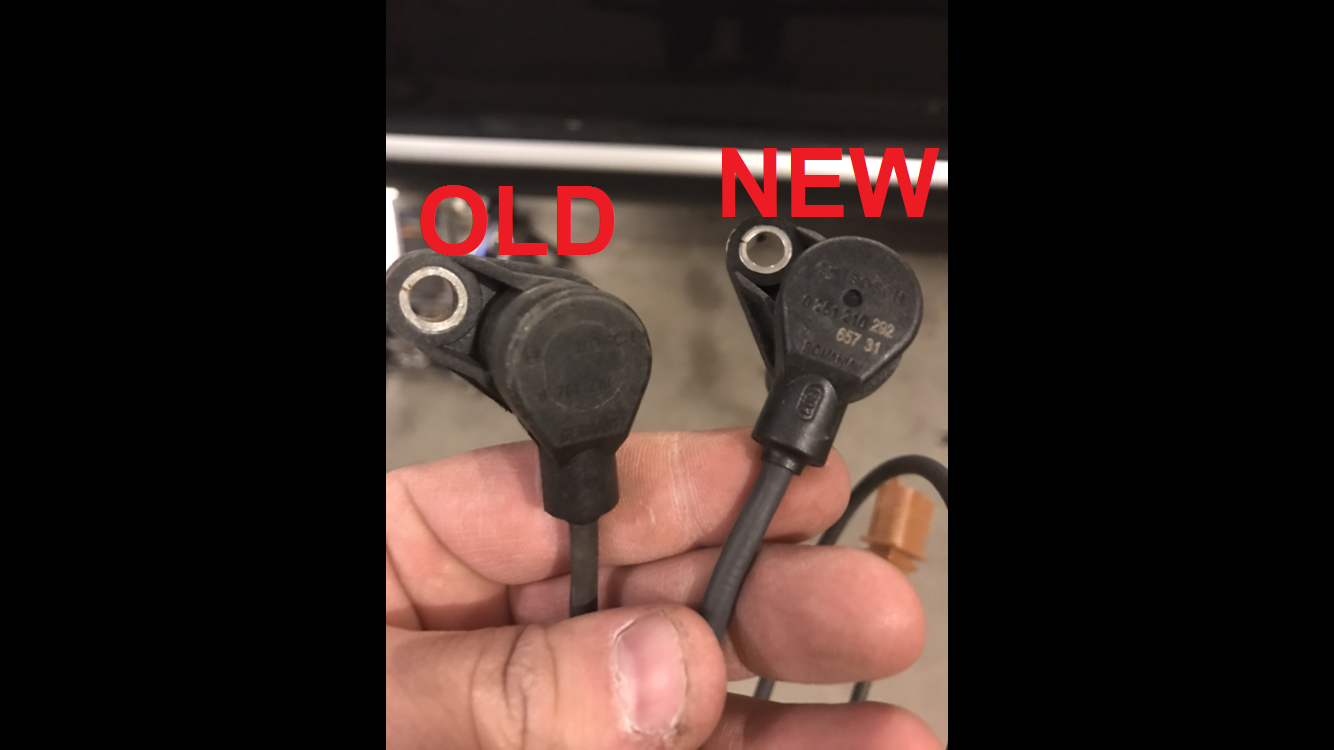
Lastly, I took some advice from another crank position sensor install post (Shout out to Rennlist member EMC2) who put painters tape on the crank sensor to keep it from getting damaged as you fish it back into the engine bay. Make sure to route the sensor so that it doesn't get burnt by the cats on the down pipe.
At this point, go ahead and reinstall in reverse.
Joe @ Momentum Worx
Recent Posts
-

Which injectors should I get for my CAT 3406E/C15
If you have a CAT 3406E that is in need of a set of injectors, or you are looking to upgrade the inj …13th Dec 2023 -

BEST Cat 3406E/ C15 Turbo On Earth
Yes, big claims from an even bigger (FAT) man - now that I have your attention; please allow me to p …21st Jun 2023 -

Caterpillar C15 | Single Turbo or "Twin" Turbo - What is better?
One of the most frequently asked questions when it comes to mid 2000s Caterpillar engines; Single tu …4th Apr 2023